0 items
in your cart
ITEMS:
TOOLS REQUIRED:
TIPS:
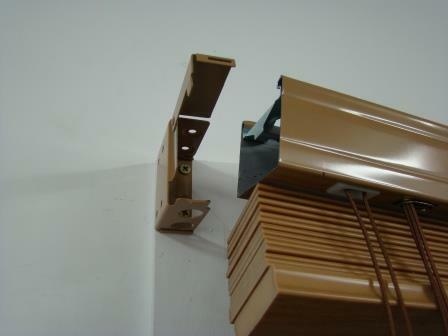
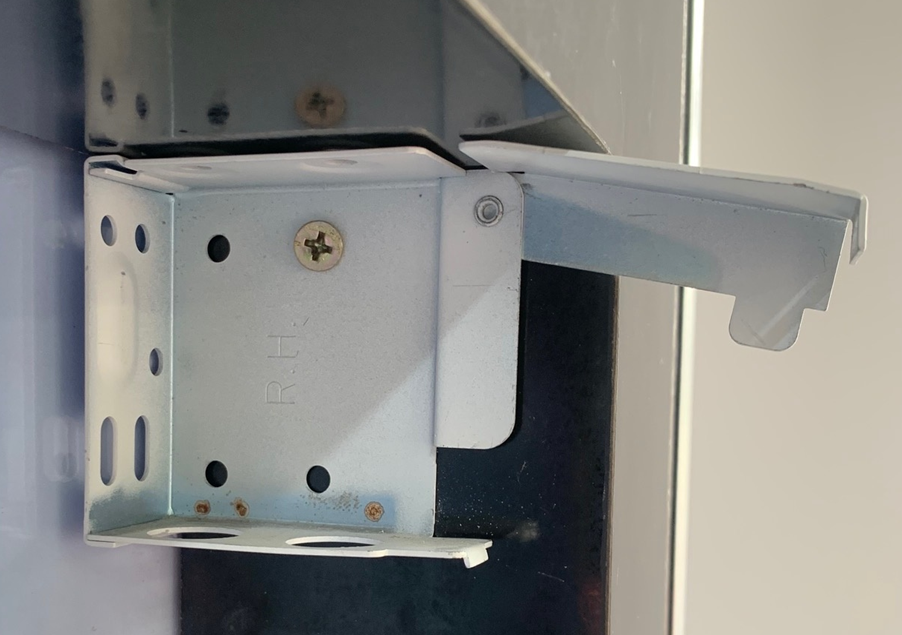 | Carefully remove bubble wrap from blind, release brackets and screws. Unpack pelmet which will be either with blind or all bundled together with longest blind if multiple blinds ordered. Screw the left and right brackets in place, with bracket arm facing front, refer to photo. You can decide to screw through the side like the photo shows, or up through the top, so long as you use two screws per bracket. If using a centre bracket, screw the widest end into the top of the frame like a C shape with the open section facing you. TIP: Take care not to put the centre bracket in the way of the ladder tapes which are inside the headrail. |
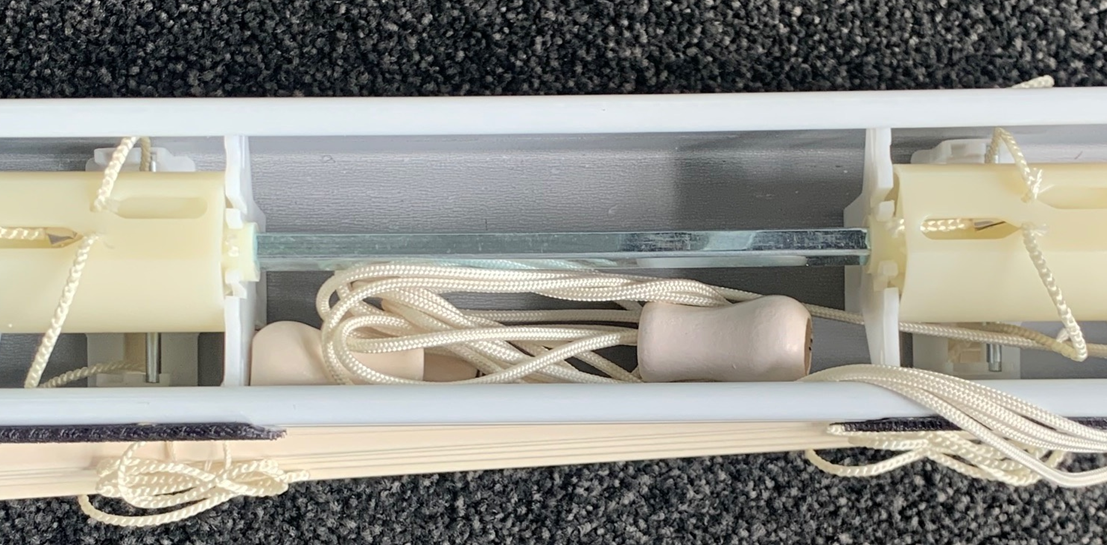 | Notice the control cords are tucked into the headrail in a clear bag. Carefully lift the control cords out of headrail, and remove the clear bag. Leave blind in the mostly pulled up position, or can lower a little bit, by pulling the lifting cord across. |
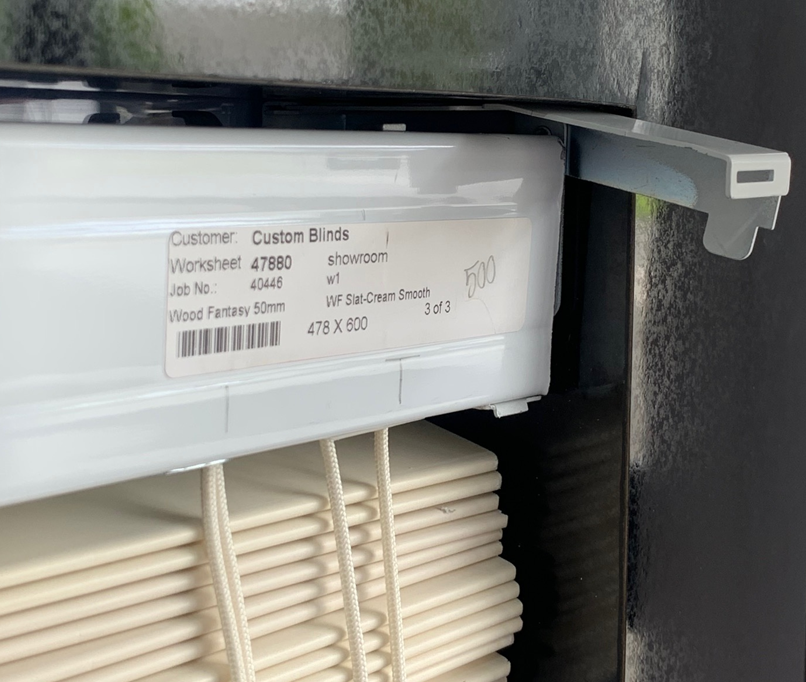
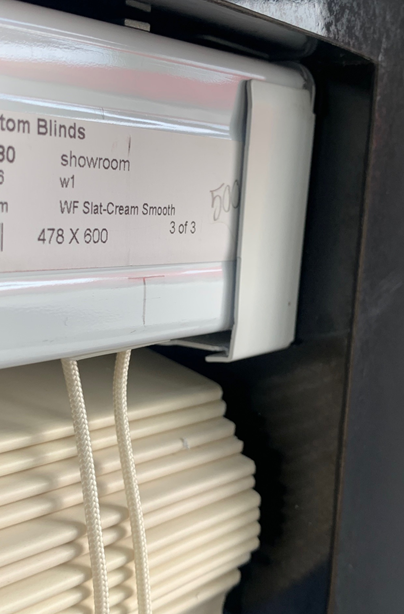 | Place headrail into both brackets. For larger binds you may need help holding the blind at the other end. Close arms of both brackets until they click into place. Lower the blind fully by pulling the lifting cord. Test the tilting cord in both directions. TIP: If pulling on tilting cords doesn't tilt the slats, it is likley the tilt rod is not aligned correctly with tilter. With Blind still installed, first equalise the tilting cords so both tassels meet each other (not one hanging lower than the other) take blind down from brackets, slide tilt rod fully out of tilter, check again that tassels are still equal, then slide tilt rod back into correct position. 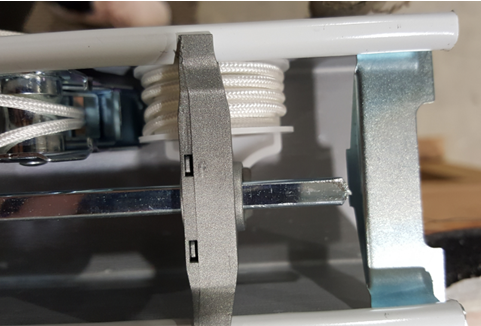 |
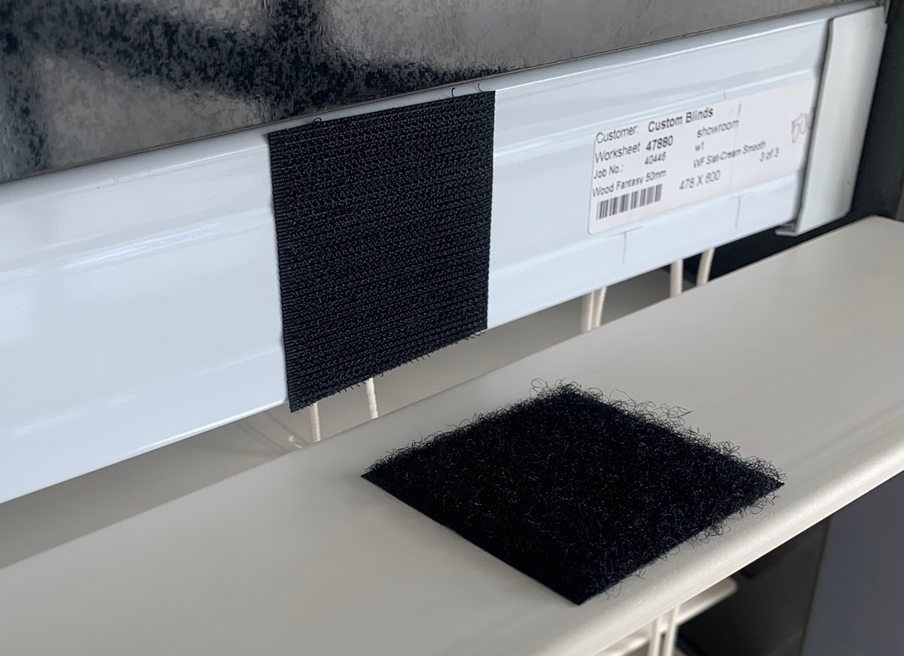
 | Attach Pelmet securely by removing the strips on the velcro patches on the track, and pressing firmly along the pelmet and headrail where velcro patches meet. |
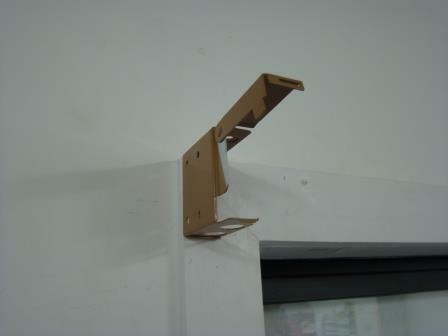 | Place left bracket in left corner of window frame. Bracket arm must be facing front. Screw bracket into side or top of frame using 2 screws. Repeat on opposite end If using a centre bracket, screw the widest end into the top of the frame. TIP: Take care not to put the centre bracket in the way of the ladder tapes which are inside the headrail. |
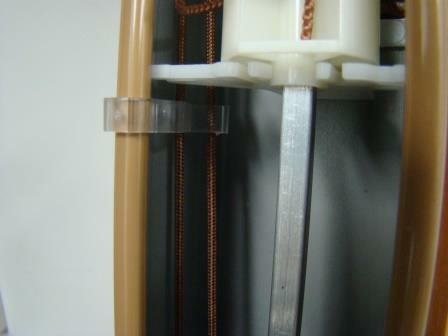 | Take cords out of headrail. |

 | Place headrail into brackets. For larger binds you may need help holding the blind at the other end. Close arms of brackets until they click into place. |
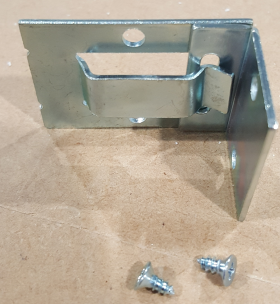 | Assemble the small silver braces as pictured and screw these into the inside of the pelmet to connect the side returns to the pelmet. |

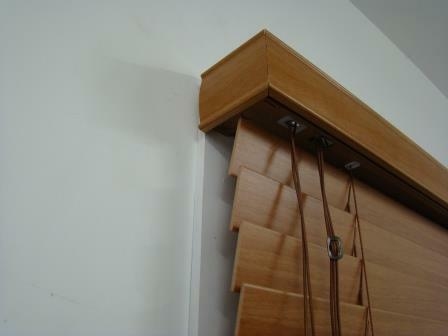 | Attach Pelmet securely by removing the strips on the velcro patches on the track. |
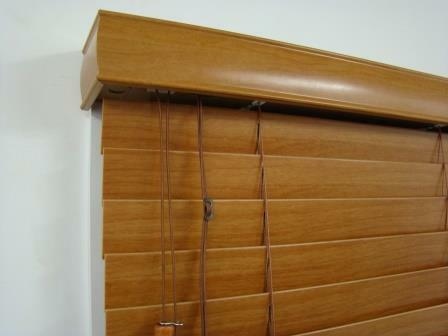 | Blind finished. |